 Facebook
 X
X
 Pinterest
 Copy Link
Hello, my people! Have you ever wished that you could get into barbecuing, but you just didn’t know where to start? Well, look no further because I am here to give you my tried and true, step-by-step guide on how to become a backyard pit master. In this blog I’ll go over a great cooker to start out with, the fundamentals of smoking, and other BBQ gadgets that will help you out as you’re learning!
 How I Started:
It was early Spring of 2020, right in the middle of the COVID lockdown and I was looking for a new hobby. I had always been into propane grilling. Pretty much anytime I was at a social event that required grilling, I was the grill master. But I decided I wanted to delve into the world of real BBQ, and take my game to the next level, the pit master. Cooking meats low and slow with charcoal, wood, and smoke baby! Don’t get me wrong, I have nothing against propane grills, but that real BBQ flavor can only be produced with the proper techniques and equipment. That may sound like a tough ask, but really it’s not. I’m not quite at pit master status yet, but I’m striving to be one day. In the past few years, my skills have grown massively with every new cook and technique I try. And if you follow this guide you’ll be smoking up delicious treats this Summer, I promise you that!
Your First BBQ Pit/Smoker:
When you think of BBQ pits you might picture a massive oil drum-style smoker, stacked with multiple briskets, whole chickens, ribs, and pork butts all smoking at one time. Those things are dope and I’d love to have one someday. But they’re very very expensive and probably aren’t all that practical for most people. Because most of us won’t ever need to cook that quantity of meat at one time! The first pit I bought, and used exclusively from 2020 up until a few months ago, was my Weber Kettle. I’m sure you’ve seen one of these along your travels, shit you might already own one!
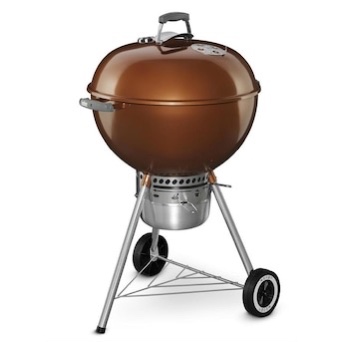
I cannot understate how versatile and easy to use these bad boys are. And honestly, this is all you’ll need starting off on your BBQ journey. I’ve smoked briskets, ribs, pork bellies, whole chickens, wings, legs, thighs, and even burgers on my Webber Kettle. The biggest caveat with this cooker is the lack of surface area you’ll have at your disposal. You’ll only be able to use half of the grill grate area, which I’ll explain in further detail later. In my travels with my Webber, I was only able to cook one brisket or one pork shoulder, or two racks of ribs at a time. This can be a problem when you start churning out the good stuff, and you have loyal followers. But, that’s just a sign of your skills!
The Key to Smoking, Indirect Heat:
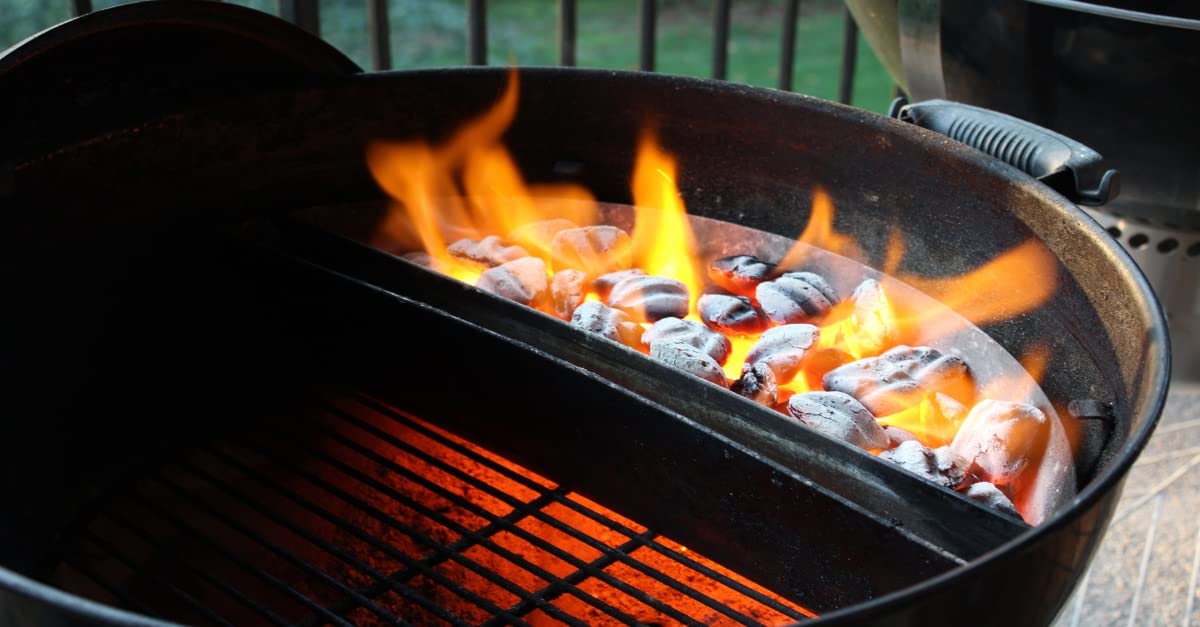
Ok, so you have your cooker and you’re ready to get going. The next step in your learning is to start to understand how indirect cooking works. The basic idea is that whatever you’re smoking shouldn’t be placed directly over your heat source. This is what allows you to control and smoke at lower temperatures, while also eliminating grease fires that lead to burnt meat!
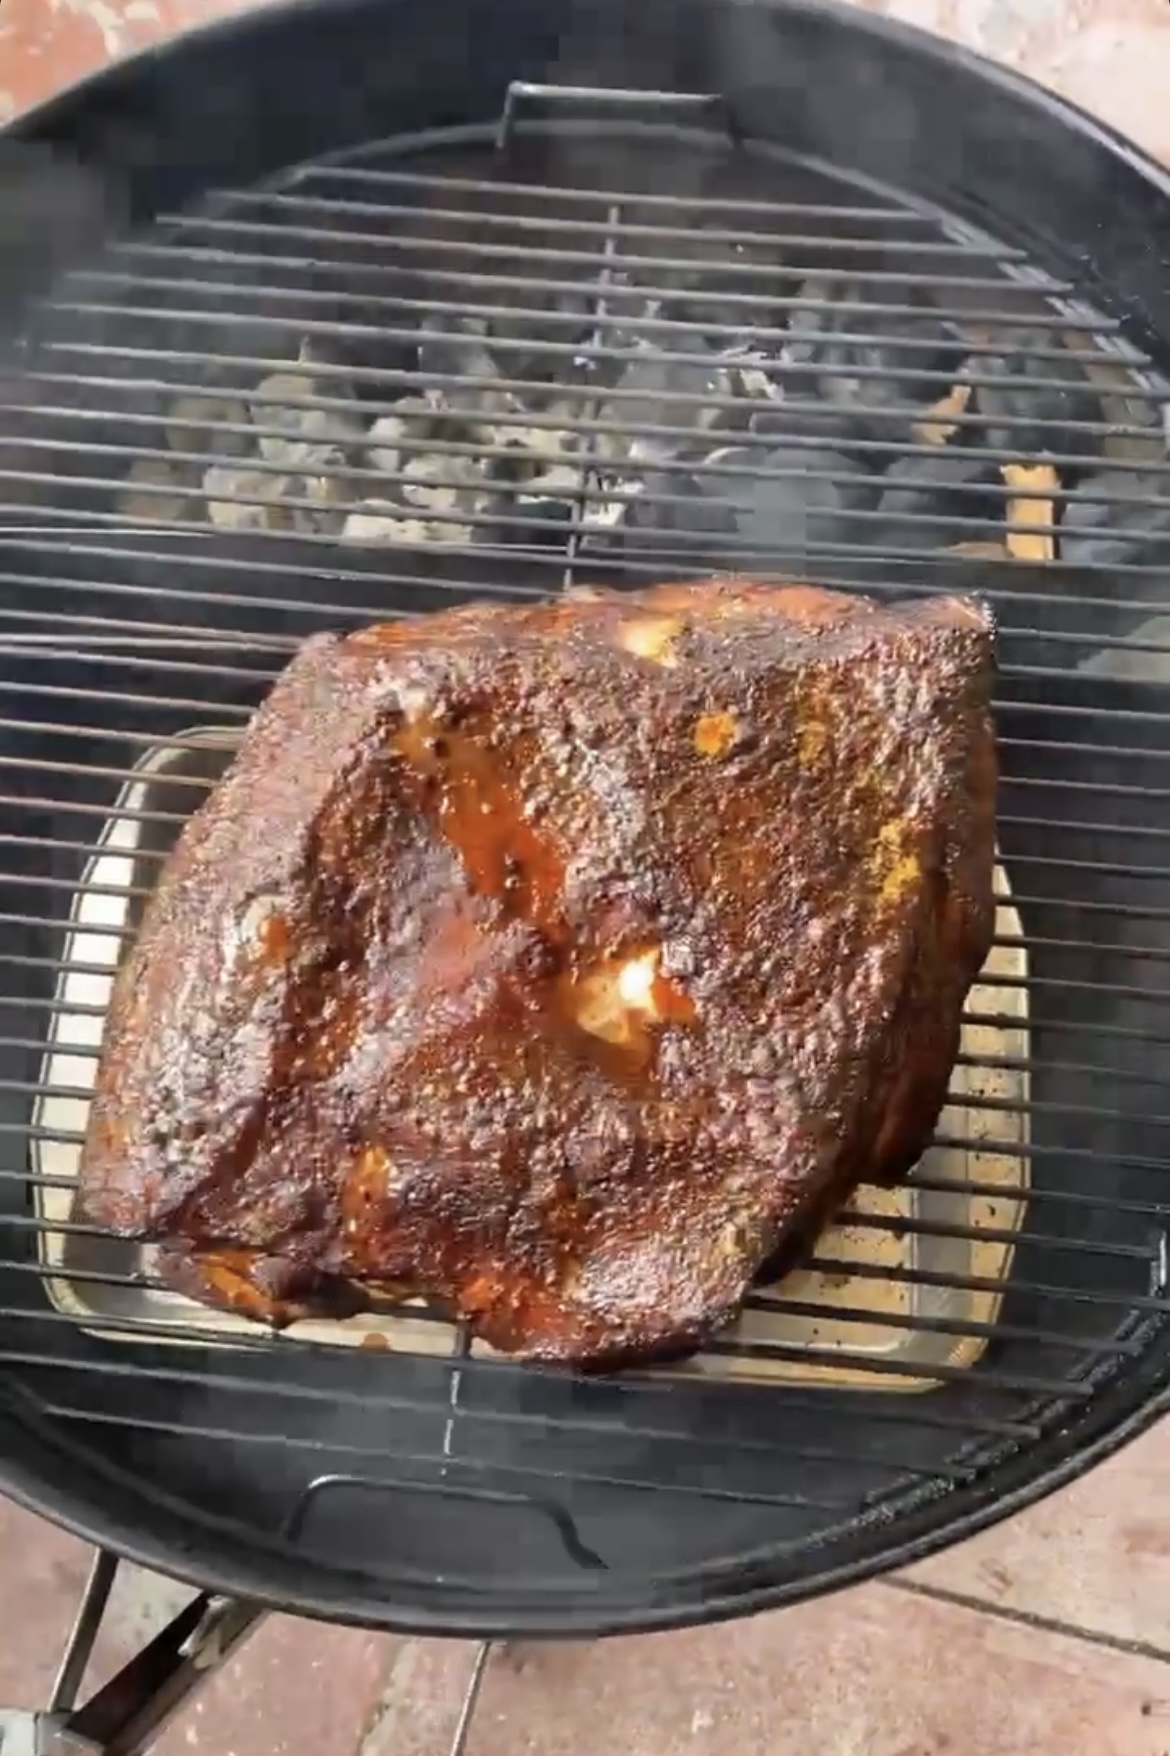 On a Webber Kettle that looks like the picture to the left. Your meat will be on one side of the grate and the charcoal and smoking wood will be on the side opposite. This technique allows for the heat to come up from the source, pass over the meat, and then come out the top of the cooker. Something for you to remember is to have the top vent of your cooker on the same side of the meat. That way air will come in from the bottom of the cooker and be drawn up and over whatever you’re cooking!
The name of the game here is airflow and controlling it. For the best results, you should choose a target temperature and try to stick within 25 degrees of that. You increase your temps by introducing more air into the cooker by opening the dampers, on the top and bottom. To decrease your temps you choke down on the dampers and slow the airflow. A trick I’ve learned is to not overdo my adjustments. I’ll wait until my temp gets close to the 25 degrees threshold, then make a small adjustment and watch to see what happens. You want to try and keep the cooking as consistent as you can, so constantly fidgeting will do you more harm than good. Also, as the adage goes “you ain’t cooking if you’re lookin” so keep that top on as much as you can!
My Recommended BBQ Accessories:
- Slow n Sear– If you decide to use a Webber Kettle then I highly suggest you also invest in a Slow n Sear as well. This little baby will allow you to set up your cooker most efficiently and easily for indirect cooking. It’s a stainless steel basket that you put your charcoal in, as opposed to carefully stacking the briquettes by hand. It even comes with a water trough that helps keep your cooking temperatures more consistent. As well as step-by-step instructions on how to fire up your pit. One load of charcoal and wood chunks done properly in a Slow n Sear can last for up to six hours in my experience!
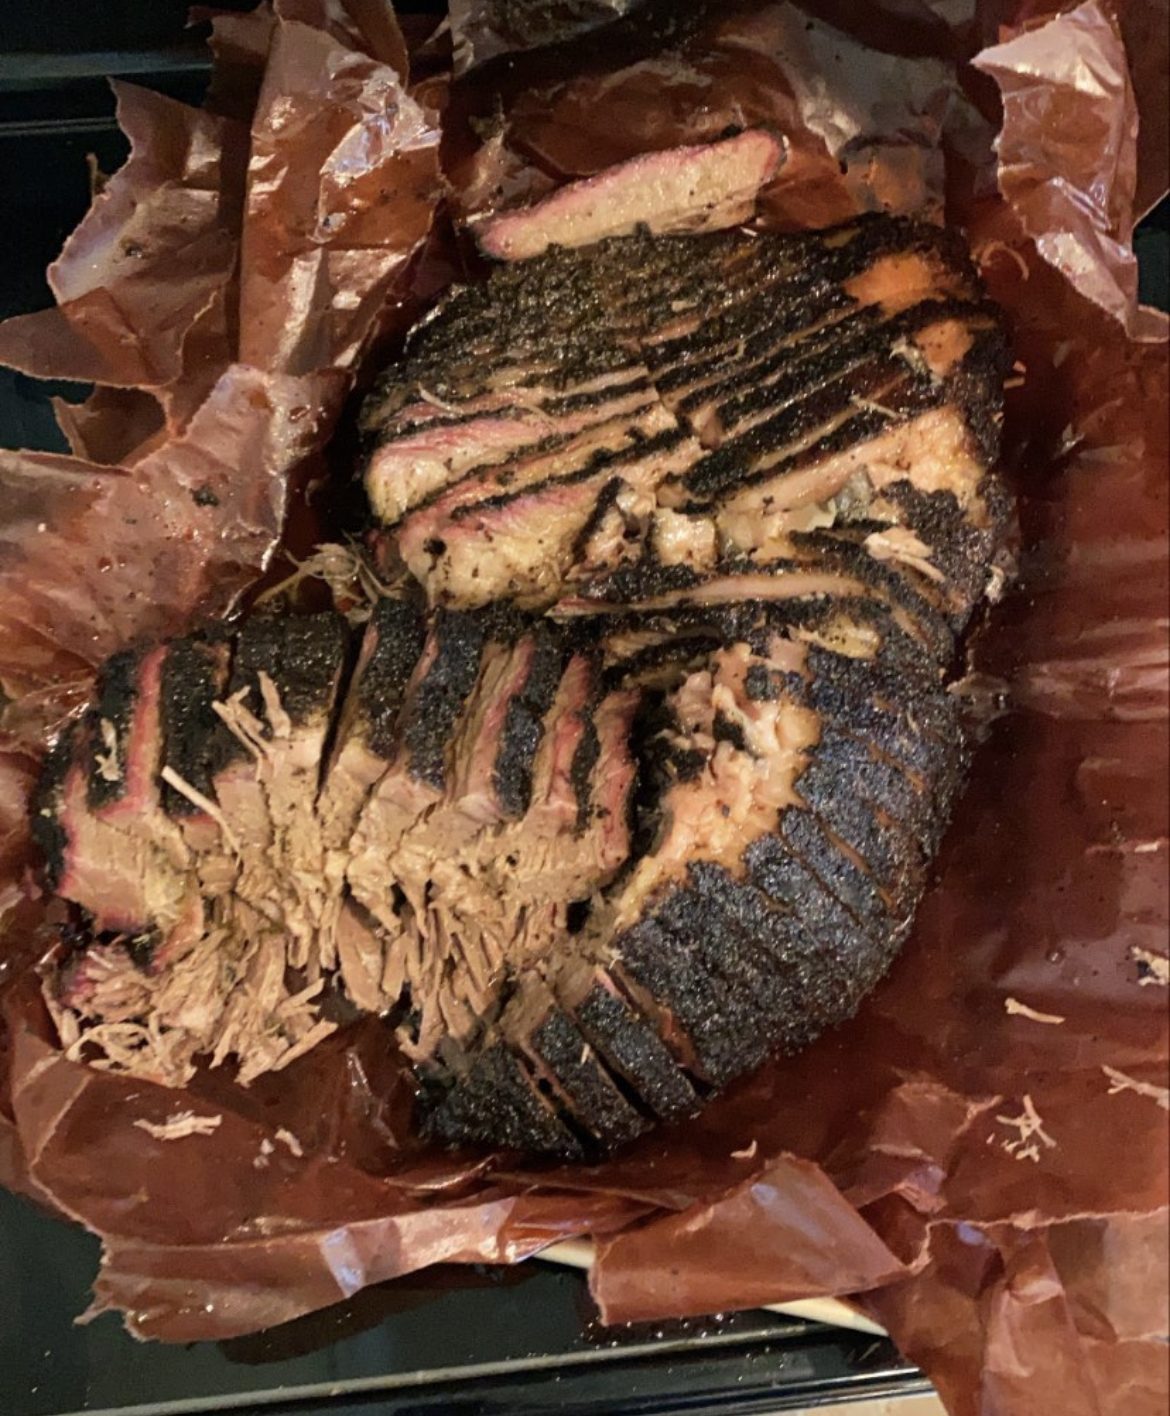
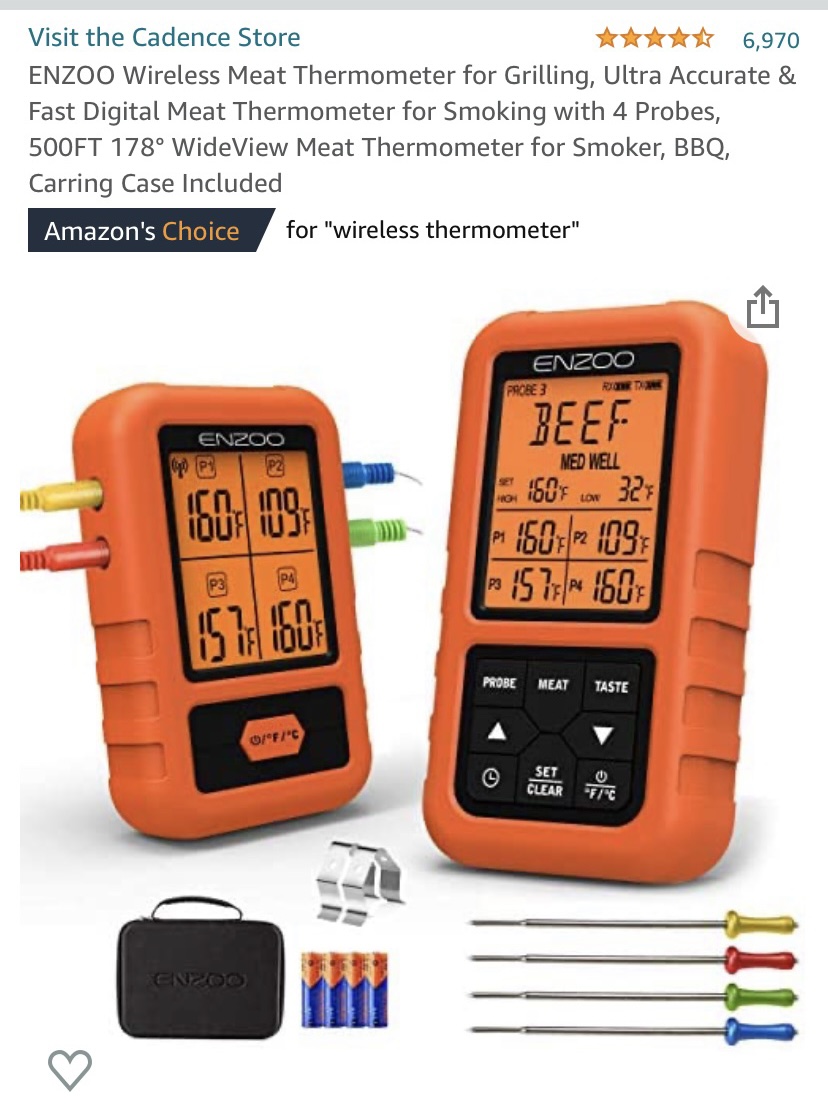
2. Meat Thermometer– This one is soooo important! Smoking is all about temperature control, both your cooking temps and the internal temps of what you’re cooking. To get the best-tasting meats you need to cook them past their well-done temperatures. I’m talking 190-205 degrees. This is what helps these tough cuts of meat break down and become that tender smokey goodness that we want and love so much. I recommend getting a thermometer that has at least three probes. That way you can track the grate level and internal meat temperatures of multiple cuts of meat, or in two different areas of one cut!
3. Quality of Life Accessories- These items are definitely less important to have. But will make your BBQ experience much more enjoyable and easy. A good long pair of tongs go a long way for moving meats and hot charcoal. Along those same lines, some heavy gloves are very nice so you don’t burn your hands when you have to move your hot meat. Something that I recently invested in was a large wooden cutting board for transporting those big old 15-pound briskets you’re gonna be smoking up. And finally a spray bottle for keeping that precious protein nice and moist throughout your long cooks!
I hope you find this info helpful on your BBQ journey. I’ve had a ton of fun learning new techniques and experimenting these past few years, and the best part about it is I always have some fire food to eat at the end of it! I’m going to keep on blogging on this topic because I really love it. So stay tuned because I’ll be dropping more tips and knowledge this year. And if you get inspired to get out there cooking feel free to link up with me with any questions you may have!
-JCain
IG: @jcainhomes
Email: jordancain@windermere.com
Text: (253) 882-7974
